Showing posts with label Create. Show all posts

Monday, July 14, 2014

A Baby Shower for the Best Girl

My sis in law, N*, is having her baby soon! Therefore, we had to shower her and my first future niece with love. We planned for the shower to be outside but due to Utah's sketchy weather we moved things more inside. I loved everything about this shower. The food, the guests, the colors, the flowers, and everything about it. I am so happy for my sis in law and honestly can't wait to meet my little niece soon (and when I say soon I seriously mean soon).


Photos by Kimmy Ashworth of Pearl Pixels and Kristina Hyatt

Tuesday, April 2, 2013

My Ikea 'Rast' Remake

Description: Remake your plain pine, unfinished, three drawer Ikea 'Rast' dresser into a chic nightstand or end table in just 2 hours and just by adding some paint, wood stain, and new hardware!  

Materials: Ikea 'Rast' Three Drawer Dresser, Fast-Drying Polyurethane, white paint, paint brush, sand paper, wood stain, and new knobs.

Steps:

Step 1 // Materials Ready
Get out your materials. I used materials that my father-in-law already had. Which were semi-gloss white paint, a dark water based wood stain, and fast-drying polyurethane. I also had 2 different sized paint brushes, sand paper, and 2 wood blocks to place your dresser on while painting the bottom. 


Step 2 // Assemble
Put the dresser together. Follow the fairly confusing Ikea instructions. I resulted to my husband doing this part. Put everything together except for the drawer knobs!


Step 3 // Sanding
I sanded for a good 5 minutes on each dresser. Just so there weren't any pieces of wood sticking up. I really wanted to get them smooth.


 Step 4 // Stain and Paint
Stain the outside of the dresser. Apply two coats. I only did two coats so I could still see the wood. While those dry, paint the fronts of the drawers white. Apply two-three coats.


Step 5 // Sand and Polyurethane 
Sand the outside of the dresser again after the stain. This keeps the wood smooth still. Blow off the sand and paint on the polyurethane. Apple three coats of the poly. Allow the poly to dry over night.

Step 6 // New Knobs
Once everything is dry, add on the new knobs. I found mine at Hobby Lobby...originally I bought 10 different ones and had to take a week to narrow down on which ones. I ended up liking the simplest bronze floral ones the best.


Not the best "After" pictures, but they work.
And the total cost...
Ikea 'Rast' Dresser - $35 each 
(I got 2 so $70)

(I got 12 at 50% off so $18)

Paint, wood stain, and polyurethane - $0 
(I already had it)

So I paid about $88 for two totally new nightstands, which can usually get quite expensive. So I am happy! Have any questions? I'd love to answer below!

Friday, March 29, 2013

Sweatshirt Remake

A couple weeks ago my sister and I decided to have a sister craft night. For this craft night we remade your everyday sweatshirt into something a little more special.


Sweatshirt #1 - This was my sister's sweatshirt. She added a leopard fabric collar and hearts on the elbows. HOW TO: 1. Cut out the shapes you want to add to your sweatshirt. 2. Pin the shapes onto the sweatshirt where you want them placed. 3. Then sew around the edges of them onto the sweatshirt.

Sweatshirt #2 - This was the sweatshirt I made for Matson. I changed the drawstring and changed the pocket from normal fabric to an old sweater. HOW TO: 1. Place your old sweater or other fabric on top of the sweatshirt's pocket. 2. Trace the sweatshirt's pocket onto the new fabric (or old sweater you're using for the pocket). Make sure to add about a 1/2 inch (at the least) for seam allowance. 3. Pin the new fabric (or old sweater) on top of the sweatshirt's pocket. 4. Sew the sweater just on top of the pocket. Which is a lot easier than taking off the old pocket, plus it makes the pocket stronger. 5. If your fabric is thick (like my old recycled sweater was), you may need a set of extra hands to feed in the sweater as you sew. 6. Remove the sweatshirt's normal drawstring and rethread a rope through the sweatshirt hood.

Sweatshirt #3 - This was my pocket sweatshirt and the simplest to make by far. HOW TO: 1. Find a pocket on a shirt that you like. 2. Trace that pocket shape onto a piece of paper or directly onto your fabric. Make sure to add about 1/4 to 1/2 inch for seam allowance. 3. Cut out your pocket. 4. Pin your pocket onto your sweatshirt wherever you want it placed. 5. Sew the pocket on. Obviously do not sew the top of the pocket so it is a functioning pocket.


Monday, November 19, 2012

Placemat to Pillow HOW TO

Thanksgiving is just a few days away crazy and so I thought I would share with you a little Thanksgiving craft I did this year. I was walking around my local Bed, Bath, and Beyond and found these cute Turkey placemats for $4.99. You can purchase the placemat here (Unfortunately they are now out of stock). You can purchase any placemat that has two layers of fabric that could be unpicked and stuffed. This only took me about 20 minutes and cost me $4.99 for each pillow (I already had the stuffing).

Materials: 

  • Placemat(s)
  • Poly Stuffing
  • Seam Ripper (or small scissors)
  • Sewing Machine (or needle and thread)


1. Choose your placemat that has two layers of fabric sewn together.

2. Unpick the seam about the length of your hand anywhere on the placemat with a seam ripper (or small scissors). I unpicked at the bottom of the placemat so it would be less noticeable where I resewed.

3. Stuff the placemat with any polyester stuffing. I used Joann's Fabric Stuffing.

4. Next, pin the ripped seam (or two sides of fabric) together.

5. Carefully sew the seam shut again. Press the stuffed pillow down so that you can get the fabric underneath the sewing machine. This was the hardest part.
 

6. You're done and NO ONE will ever notice that they were placemats! Yes, I succeeded.

Happy Thanksgiving!

Monday, August 13, 2012

Matson...A Model?

My visiting teaching companion and good friend in our ward is an illustrator/artist. She is very talented and even painted a portrait for one of the elderly woman we visit teach of the woman and her husband who passed away...so precious.

Anyway so a couple weeks ago K* asked me if Matson would be willing to model for her because she needed someone with scruff and large muscles. Check and check...that's Matson all right. She came over and took multiple pictures of him to use for a job she was hired to do. It's for a cover of a video game book (uhhh...did anyone else not know that these such books exist?) and I think it turned out super cool and it is totally Matson even the veins, facial expression and all!


Check out K*'s other work here.

Saturday, August 11, 2012

House Hungry

So next week marks our 2nd year of being married. Party! With 2 years of marriage also comes the feeling of just be sick of our apartment. Our apartment is great and all but it is still just an apartment. We are a little house hungry over here. So just like with baby hungriness (I can't believe that is a word...no red squiggly line underneath it. Hallelujah!) you go find a little baby or kid and it fills that void, so with house hungriness and if you aren't in the position to buy a house you just fix up your place you are in now to feel that void...right??

Our bedroom is great and all but there is this one wall in our room that I have never liked but for some reason I just feel a little bond with it because of the wreath on it. You are all thinking, "What the freak? A wreath?"

Yes, a wreath. But not just any wreath. A wreath from our wedding reception.

Just ignore our intense faces.
See...pretty wreath, right? So I am all, "Ohhh let's dry the wreath and be all artistic like and put it in our house." So we did just that and it has sat there for almost 2 years "drying".


SO UGLY! What was I thinking? Seriously. And why is it still on my wall? My thoughts keep going back to our reception night and this wreath came from that beautiful night...holding on to it.  Then they turn to thoughts about how wilted and fugly (freaking+ugly) and who cares? It's vomit in the mouth so out to the trash it went.

So I got together some cheap frames and free printables off Pinterest of course and came up with this new, redone and fun wall! I am in love. Makes me so happy when I see it!


Not the best but I didn't want to spend oodles of money on this so we used a lot of what we had but some I bought new and it definitely didn't cost me more than $25 (minus the portrait of us, I think that was $25 itself).

Products:
  • Upper Left
    • Photo: Me at 8 in ballet class
    • Frame: Unknown (Old)
  • Bottom Left
    • Photo: Matson at 6 or so
    • Frame: Michael's (Gifted to me by Matson)
  • Bottom Center "Utah"
  • Bottom Right
  • Center "I Love Us"
  • Top Center "You Are My Sunshine"
  • Top Right

Follow me on Pinterest here.

Wednesday, July 4, 2012

DIY American Pants

I saw this DIY project pinned on Pinterest (follow me on Pinterest here. My username is just ericatanner) and I just knew I had to make them. So a couple days ago I made em.


I obviously didn't make shorts like she did, instead I went for the pant route.

The woman's tutorial that I pinned, was super good and had some helpful hints. So I guess I am more of a testimonial saying that the tutorial I pinned is good! BUT I thought I would throw in some of my own helpful tips on what worked for me and what didn't.

I followed all of her same tips except:
1. I did not use a star stencil bought from the store, instead I used a Cricut to cut out our star shape.
2. I didn't use "Old Shorts", I went to Savers and bought some $3 old Eddie Bauer "Mom Jeans" but they kind of look like high waisted boyfriend jeans.
3. We used the same brand Simply Spray fabric paint, except our craft store was out of blue Simply Spray brand fabric paint so instead we used the Tulip brand blue spray paint. It didn't spray on as evenly but I actually ended up liking it a lot. Just spray far away because it sprays on in bigger drops.
4. I did not use a normal paint brush to do the stars. I used a foam craft brush which worked good. Less paint is better (this stays true for the whole project)!
5. For the stars I used normal house (wall) white paint that we had laying around. But I am sure even acrylic or any kind of white paint would work. I just would not spray the paint on.

I made these mistakes: 
1. Really really really really make sure that you cut out some cardboard or something to go in between the pants/shorts so that it does not go through. Cardboard that fits completely across the whole width of your pant legs.

Cardboard between legs when spray painting so it does not leak.
Then also for the stars so you have something hard to press against.
See this is my mistake. Cardboard didn't go all the way across.
2. I bought the Simply Spray brand for white but it said "Textured White", which may be the only white that the Simply Spray brand has. It seriously came out textured and dried kind of bumpy. I would not use this again. I instead would buy the Tulip brand white paint or maybe your craft store has just a plain white (not textured) Simply Spray.

Me wearing them this morning.
Yes, I cut my head off on purpose.
You don't wanna see my morning hairdo.

One thing I really learned was that not every stripe or star is going to be perfect. Just go with it and it will end up cute! Mine is definitely not perfect. The mess ups are ok! I can't wait to wear these all day today.
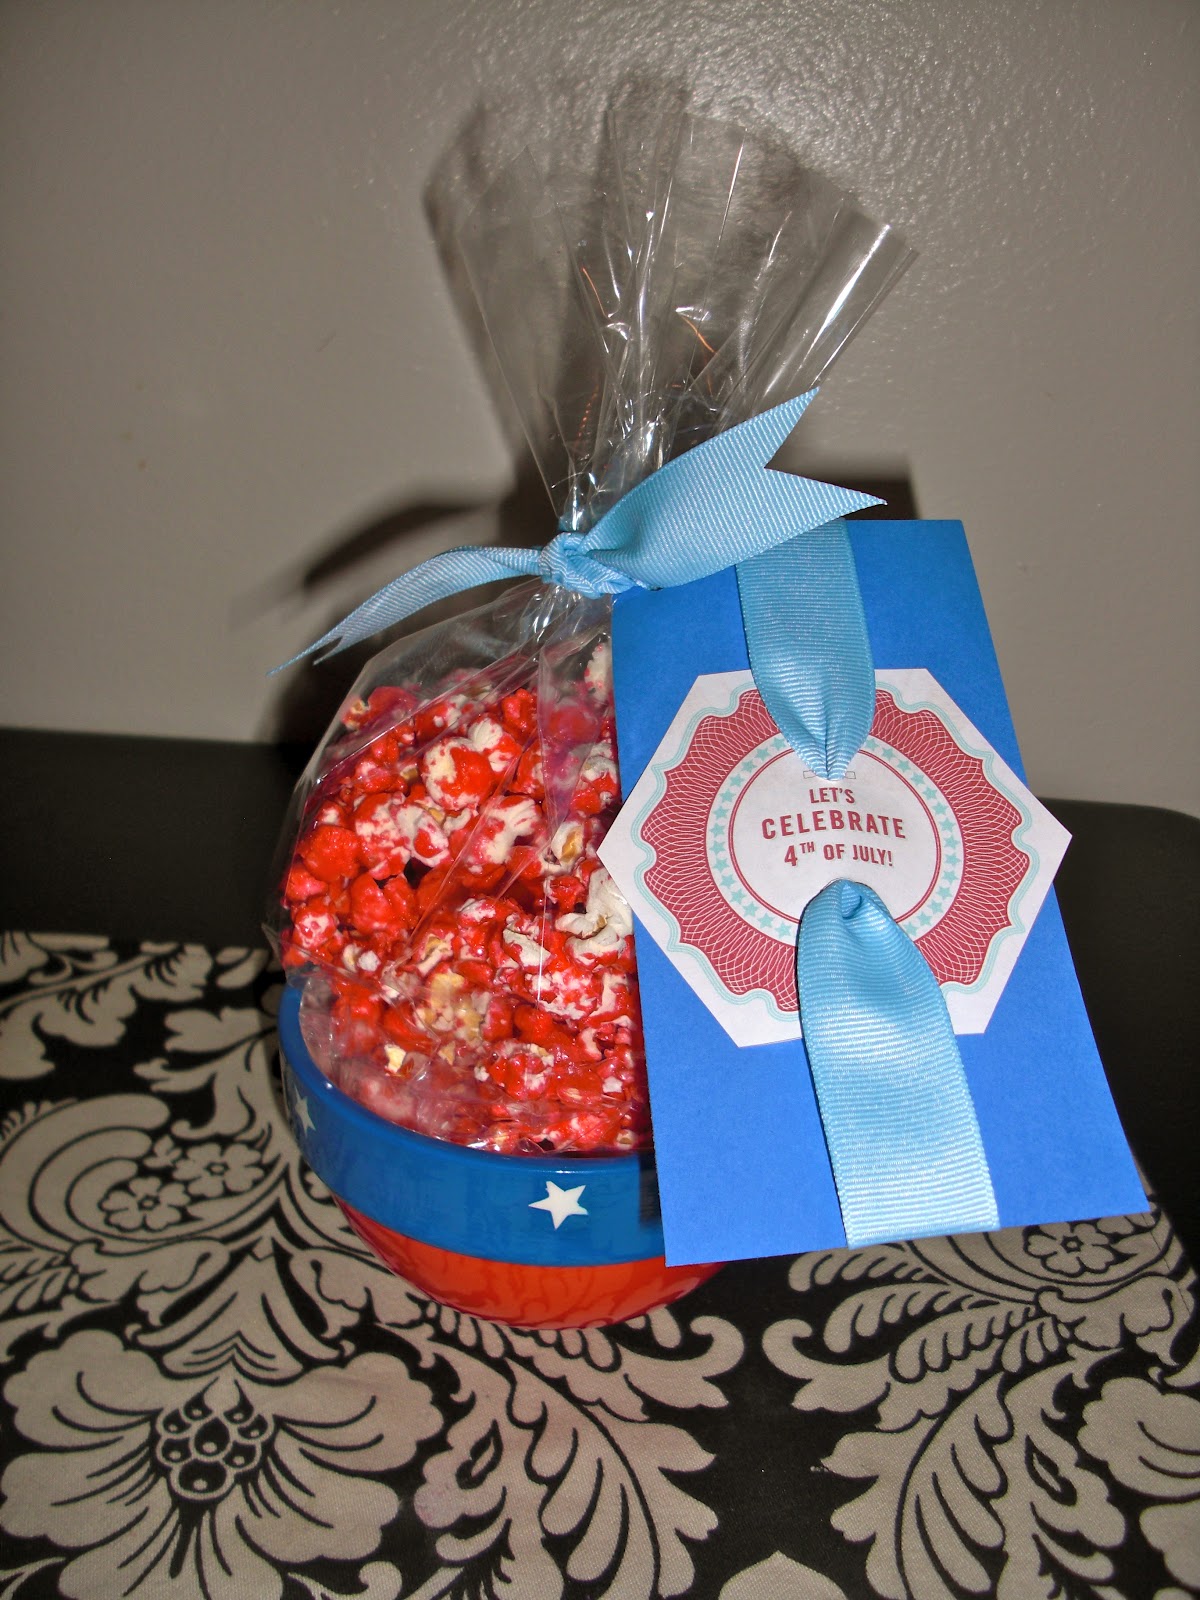
Happy 4th of July!

Friday, June 15, 2012

4th of July Gift

As many of you may know, I love holidays. So I like to just make things for each holiday for our family and friends. 4th of July is definitely our combined favorite holiday over at our home, even though Christmas may be my favorite. I think the 4th is both of our favorites! So I started by making these cute little 4th of July gifts for my mom, sis in law, and newly engaged sis sorry A*, just gotta throw that "engaged" part in whenever possible to kick off the 4th of July season. Super easy and fairly cheap.
I have the worst camera ever. Sorry horrid quality.


  • Jello Popcorn, which I had never made before but was super easy and much more colorful and fun than caramel corn! I used this recipe from Our Best Bites. Super easy to make and I had all the ingredients already! TIP: I used Raspberry Jello because Strawberry tends to be lighter and more pink. But I am sure Cherry would be a good red too! Or even a Blueberry would be fun!
  • Little Bowls or Container. I got mine in the $1 section at Target recently.
  • Cellophane Bag
  • Ribbon
  • This Tag. It's suppose to be a holder for sparklers but I just hole punched where the cut outs for the sparklers are suppose to be. I put ribbon through the holes and then taped/glued the tag to card stock paper.

Saturday, June 9, 2012

A Bottle of Spray Paint

Two days ago my mom, sister, and I were at Wal Mart. We picked up some spray paint for a project my sister was doing. I instantly thought of a very plain basket I had at home that we keep our blankets and quilts in.

The Plain Basket
So I bought some spray paint. And bam! The basket looks so much better especially up against our plain white apartment walls.

The Painted Basket
It's crazy what just 5 minutes of spraying spray paint can do! If you have any ideas about how to make this basket any cuter, I'd love to hear! I thought a bow but it made it look like an Easter basket wannabe.